How to Clean Lenses of Digital Cameras
The previous article told us about the photo camera damages and ways of their repair. Now we are going to describe the disassembling and dust cleaning processes of an interchangeable lens using the Canon EF-S 18-135 lens example.
All digital camera interchangeable lenses gather dust, especially the economic ones, which are the most popular now. We can regularly remove dust outside the lens using a dust blower, flannel and lens cleaning liquid but it is much more difficult to clean the lens inside. Of course, it would not accumulate much dust in a month or two, but after a few years of usage, especially if you take pictures quite often, it will definitely occur. The point is that any modern camera lens consists of several groups of lenses. See Fig. 1.

Fig. 1: Lenses Groups
The inner lenses groups (those that are closer to a matrix) are tightly fixed and immovable so dust penetration between the lenses seems unlikely. The outer lenses groups are moved with a zoom mechanism, that is why dust can penetrate inside.
In the L class it may happen once in a blue moon because the space between lenses is covered with a special flexible rubber and velvet gaskets which act as a filter. The start price of such lens can be thousand dollars or more. For regular lenses like EF or EF-S these filters are not provided. So with the lapse of time they can gather the dust and you will face the cleaning problem.
Depending on the lens class and type the cleaning may cost from USD100 to USD 350 in a service center. But you can save your money and do it yourself taking into consideration some significant moments. Let's follow the whole cleaning process using the Canon EF-S 18-135 lens as an example.
Disassembling
All manipulations must be done in gloves inside the clean room with high humidity.


Fig. 2, 3 Labeled Plastic Ring of Canon EF-S 18-135 and screws under it
Unstick the plastic labeled sticker (Fig. 2). It is attached to the lens with a special adhesive tape. There are three small screws under the tape covered with an anaerobic adhesive(Fig. 3). Unscrew them with a precision screwdriver. Attention! It is important to mark the position of the lens in relation to the rest of the objective accurately. During the further assembly the lens or lens group must be centered exactly. Unscrew the screws and remove the upper lens group (Fig. 4).
Cleaning
Clean the lenses and objective walls from dust with the help of a dust blower and liquid for lens cleaning. Do not use compressed air in tank as it may contain oil, which is used for tank production. The oil can make the lenses dirty again. Clean the lenses carefully without force as the antireflection layer can be easy removed. Wipe the lens from the center to the edge and make sure you have not left any fibre. When the lens is dry check if there are any stains left (Fig.5).


Fig. 4 and 5 Lenses without dust and stains
You can rub the lenses with a dry flannel again if needed. Now you can start the assembling.
Assembling
Set the top group of lenses exactly in the places marked. Lubricate the screws with an anaerobic adhesive and tight them (Fig. 6). The anaerobic adhesive is available at any auto parts store but in the extraordinary situations you can also use a regular nail polish.
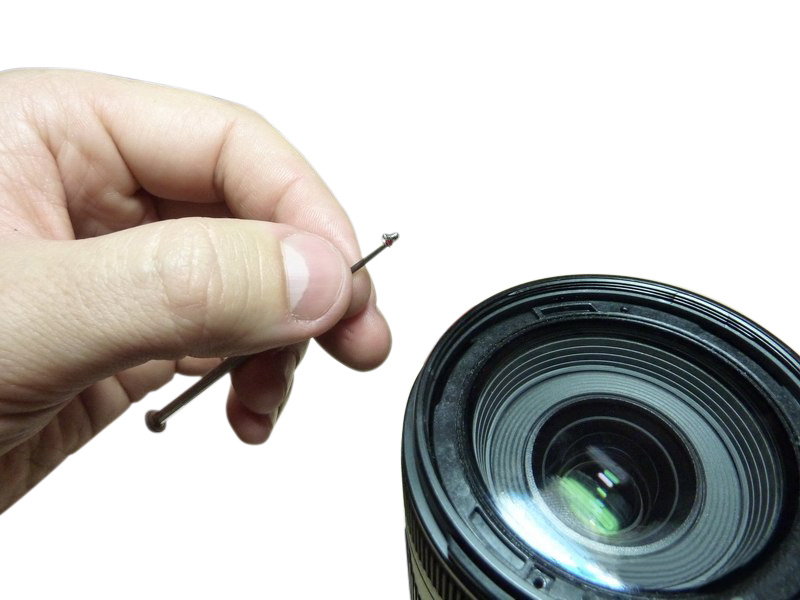
Fig.6 Top group lenses assemblage
The focus test must be done after all manipulations.
In order to do the test you will need a lens testing chart, which is available on the Internet. Print the picture on the laser printer. Fix the picture on the wall next to the light source so that it will be possible to use the entire range of diaphragms. In order to avoid distortions, use a tripod or fix the camera on a stable surface. Save photos in RAW (this format does not change the picture), than scrutinize them on your computer monitor. Do not examine photos on the camera LCD. It is too small to see the necessary details.
Pay attention to the focus depth in the center, on the edges and corners of the picture. It is normal if sharpness is higher in the center of the frame than in its peripheral areas. The main thing is that focus cannot be shifted to the left or right side, and one of the angles cannot be more blurred than the other one. Compare the photos that were made before and after the cleaning. If sharpness is within a margin of error for this lens you can finish the cleaning process. If the result is not satisfactory you need to check the accuracy of upper lens group setting, its alignment and screws tightening, and adjust it if needed.
Do the test on and on until you get a satisfactory result. This test will also help you to find out in what aperture range you can make photos with the maximum sharpness. You can use these data in the future to make good photos. Put the labeled sticker on its place when the desired result is reached. The cleaning is completed.